
Table Of Contents
- 1. What Exactly Is a Rotogravure Cylinder?
- 2. Why Use a Cylinder Instead of a Flat Plate?
- 3. Anatomy of a Rotogravure Cylinder: The 3-Layer Structure
- 4. Layer 1: The Steel Base (Foundation)
- 5. Layer 2: Copper Plating (The Engravable Surface)
- 6. Layer 3: Chrome Plating (The Protective Skin)
- 7. How a Rotogravure Cylinder Actually Prints: Step by Step
- 8. Direct vs Indirect Gravure: Two Paths to the Substrate
- 9. What Makes Rotogravure Cylinders Unique: Key Advantages
- 10. The Limitations: When NOT to Use Rotogravure
- 11. Where You See Rotogravure Cylinders Every Day
- 12. Rotogravure Cylinder vs the Alternatives at a Glance
- 13. Key Terms You'll Hear Around Rotogravure Cylinders
- 14. The Bottom Line
If you've ever picked up a glossy magazine, a printed food package, or a decorative laminate, you've almost certainly held something printed by a rotogravure cylinder. It's the quiet workhorse behind billions of printed products every year, yet surprisingly few people outside the printing industry know what it is or how it works. This guide breaks it down from scratch, with no jargon dumps and no assumptions that you already know the lingo.
What Exactly Is a Rotogravure Cylinder?
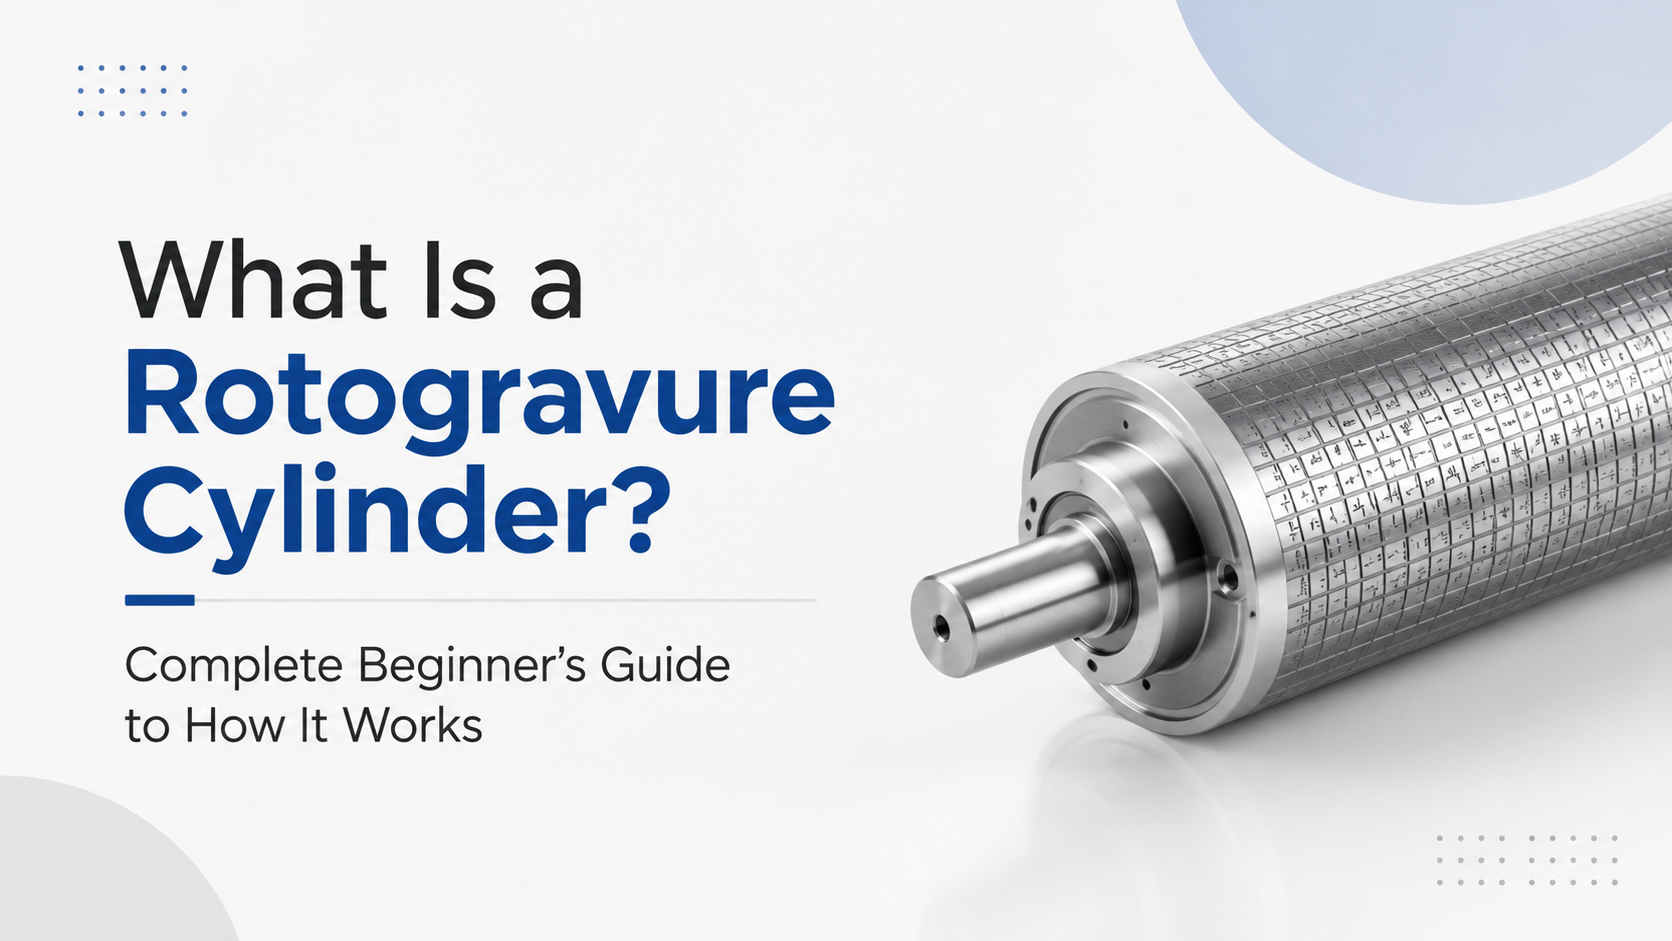
A rotogravure cylinder (often shortened to "gravure cylinder") is the engraved metal roller at the heart of the rotogravure printing process. Think of it as the "stamp", except instead of a flat rubber stamp, it's a precision-engineered steel cylinder whose surface is covered with millions of microscopic cells. Each cell holds a tiny amount of ink, and together they form the image that gets transferred onto paper, film, or foil.
The word itself tells the story: roto (rotary, spinning) + gravure (from the French graver, meaning to engrave). It's an engraved cylinder that spins at high speed to print continuous rolls of material.
Rotogravure is one of the five major printing processes alongside offset lithography, flexography, screen printing, and digital printing. Among them, gravure is unmatched for ultra-long print runs where consistency from the first copy to the millionth matters, and matters absolutely.
Why Use a Cylinder Instead of a Flat Plate?
The short answer: speed and consistency.
Flat printing plates (like those in offset lithography) wrap around a cylinder but have a seam, a gap where the plate ends meet. That seam limits how fast you can run the press and creates a repeating interruption in the printed pattern.
A rotogravure cylinder, by contrast, is seamless. The entire circumference is one continuous engraved surface, with no gap and no join. This means:
- Continuous patterns — wallpapers, gift wraps, wood-grain laminates — print without any visible repeat line
- Higher press speeds — commercial gravure presses run at 14 metres per second and beyond
- No plate mounting errors — the cylinder is the image carrier, not a plate wrapped around a carrier
For packaging and publication printing where you're running millions of impressions, that seamless design translates directly into lower cost per print and fewer production stoppages.
Anatomy of a Rotogravure Cylinder: The 3-Layer Structure
Every rotogravure cylinder shares the same fundamental three-layer construction. Understanding this is the key to understanding everything else about gravure printing.
Layer 1: The Steel Base (Foundation)
The core of the cylinder is a hollow or solid steel tube, precision-machined to exact dimensions. This steel base provides structural rigidity, so the cylinder stays perfectly true even at 1,000+ RPM, along with dimensional stability since steel doesn't expand or contract significantly with temperature changes during the print run. It also gives the cylinder a long service life, as the steel base can be reused indefinitely while only the outer layers get reconditioned.
Standard cylinder diameters range from 200 mm to 400 mm, with face widths (the printable area) anywhere from 600 mm to over 3,500 mm for wide-web packaging presses. The cylinder shaft is typically integral (machined from the same billet) or hollow with inserted journals. A single cylinder in a wide-web publication press can weigh over 1,000 kg empty, and considerably more once copper-plated and filled with ink during operation.
Layer 2: Copper Plating (The Engravable Surface)
Copper is electroplated onto the steel base to a thickness of 80–120 microns for each print run. Copper is used because it's soft enough to engrave, allowing a diamond stylus or laser to cut precise cells without excessive tool wear, yet hard enough to hold the cell shape so the cells don't collapse under doctor blade pressure during printing. It also has excellent thermal conductivity, which helps dissipate heat generated by friction during high-speed runs, and it can be stripped and re-plated after the print job, with the copper layer machined off and a fresh layer applied for the next design.
The copper surface is polished to a mirror finish before engraving. Surface roughness is measured in microns; any imperfection translates directly into a print defect. This polishing step alone can take hours for a single large cylinder.
Layer 3: Chrome Plating (The Protective Skin)
After engraving, a thin layer of industrial hard chrome (typically 8–12 microns) is electroplated over the copper. Chrome serves one purpose: wear resistance.
During a print run, the doctor blade scrapes across the cylinder surface thousands of times per minute, removing excess ink from the non-image areas. Without chrome, the copper cells would erode within hours. With chrome, a well-maintained cylinder can print several million impressions before needing reconditioning.
The chrome layer has a surface hardness of 850–1,100 HV (Vickers), comparable to some tool steels. It's chemically inert to most printing inks and solvents, and its low coefficient of friction reduces doctor blade wear.
How a Rotogravure Cylinder Actually Prints: Step by Step
The printing process using a rotogravure cylinder follows a precise sequence. Here it is, from ink tray to finished print:
Step 1: Ink Application
The engraved cylinder rotates, and its lower portion dips into an ink tray (also called an ink fountain). The entire cylinder surface, both the recessed cells and the non-image land areas, gets coated with a thin layer of liquid ink. Gravure inks are deliberately low-viscosity (like thin cream) so they flow easily into the microscopic cells.
Step 2: Doctor Blade Wipes the Surface
This is the critical step that separates gravure from every other printing process.
A flexible steel blade, the doctor blade, presses against the rotating cylinder surface at a precise angle (typically 55°–65°) and pressure. As the cylinder rotates past the blade, the blade scrapes every trace of ink off the non-image areas (the "land" between cells). The ink inside the recessed cells, however, sits below the surface and passes under the blade untouched. What remains is ink only in the engraved cells, nowhere else.
The blade material, thickness, edge geometry, and contact angle all affect print quality. A worn or misaligned doctor blade produces streaks, hazing, and uneven ink coverage, which is why blade monitoring and replacement are critical press-side disciplines.
Step 3: Ink Transfer to Substrate
Immediately after the doctor blade, the cylinder meets the substrate (paper, film, or foil) at the nip, the point of contact between the gravure cylinder and the impression roller.
The impression roller is a rubber-covered steel cylinder that applies controlled pressure (typically 2–5 kg per linear cm of width), pressing the substrate against the gravure cylinder. At the moment of contact, the substrate surface touches the ink-filled cells, capillary action and surface tension pull the ink out of the cells, and the ink transfers from the cylinder to the substrate. Roughly 50–60% of the ink in each cell transfers, while the rest remains as a residue that the returning cylinder picks up fresh ink over.
The transfer efficiency depends on substrate surface energy, ink formulation, cell geometry, and press speed. This is why gravure ink formulation is a specialized science in itself.
Step 4: Drying
The printed substrate now carries a layer of wet ink. Before it can receive the next colour (a typical gravure press has 6–10 colour stations), the ink must be completely dry. Each printing unit is followed by a high-velocity hot-air dryer or an infrared drying system.
Gravure inks are typically solvent-based (toluene, ethyl acetate, or alcohol blends), which evaporate quickly, a necessity at press speeds that can exceed 800 metres per minute. Modern presses increasingly use water-based inks for environmental compliance, though they require more aggressive drying.
Step 5: Repeat for Each Colour
The substrate moves to the next printing unit, where a different gravure cylinder applies the next colour. Registration (colour alignment) is maintained through electronic web-guiding systems and cylinder phase controls that track within 0.01 mm, less than half the thickness of a human hair.
After the final colour station, the printed web goes through a cooling section, then onto a rewind roll for downstream converting (slitting, bag-making, laminating).
Direct vs Indirect Gravure: Two Paths to the Substrate
Not all rotogravure cylinders transfer ink directly. There are two configurations:
Direct Gravure
The engraved cylinder touches the substrate directly. This is the standard configuration for publication printing (magazines, catalogues) and most flexible packaging. It produces the sharpest image because there's no intermediate transfer step to introduce dot gain.
Indirect (Offset) Gravure
The engraved cylinder transfers ink first to a smooth transfer roller (typically rubber-covered), and the transfer roller then applies the ink to the substrate. This is used when the substrate surface is rough or irregular (corrugated board, textured films), when the substrate is heat-sensitive and can't tolerate direct contact with a metal cylinder, or when the print requires a softer "kiss" impression for delicate materials.
Indirect gravure is less common than direct but essential in specific niches, particularly corrugated packaging and some specialty laminates.
What Makes Rotogravure Cylinders Unique: Key Advantages
1. Unmatched Print Consistency Over Millions of Impressions
Because the image is engraved directly into metal (protected by chrome), there is no image degradation over the run. Print number one and print number one million are essentially identical. This is impossible to achieve with flexo plates (which wear) or offset plates (which can oxidize and lose image quality).
2. Superior Density Range
Gravure cylinders produce the widest tonal range of any printing process. The cell depth can vary from 2–3 microns (highlight areas, barely visible) to 40–50 microns (solid areas, heavy ink laydown). This creates deep, rich blacks and smooth gradient transitions that flexo and offset struggle to match.
3. Seamless Continuous Printing
No plate gap, no seam mark. For continuous patterns, such as wallpapers, wood-grain decor paper, and gift wrap, gravure is essentially the only viable high-speed process.
4. High Ink Film Weight
Gravure lays down significantly more ink than offset or flexo. This matters for metallic and opaque white inks that need heavy coverage, for adhesive and coating applications, and for products requiring high colour saturation, such as premium packaging and art books.
5. Runs Virtually Any Substrate
Rotogravure cylinders print on the widest range of materials of any analog process: films (PET, BOPP, PE, nylon, PVC), aluminium foil, paper (from tissue to board), and laminates. Film thicknesses from 10 to 30 microns are routine in flexible packaging gravure.
The Limitations: When NOT to Use Rotogravure
Every printing process has its place. Gravure cylinders aren't right for everything:
- Short runs (under ~50,000 impressions) — the cylinder engraving cost (₹15,000–₹60,000+ per cylinder per colour) makes short runs uneconomical. Digital or offset are better choices.
- Frequent design changes — each new design requires a new cylinder set (one per colour). Flexo plates can be swapped in minutes at a fraction of the cost.
- Variable data printing — gravure is a fixed-image process. If each print needs unique information (addresses, QR codes, serial numbers), digital is the only option.
- Very small formats — while gravure can print narrow webs, the cylinder cost relative to the print area makes it uneconomical below a certain width.
The economic sweet spot for rotogravure is high-volume, fixed-design, high-quality work, exactly the profile of consumer packaging, magazine publishing, and decor printing.
Where You See Rotogravure Cylinders Every Day
You encounter rotogravure-printed products constantly, usually without realizing it:
| Product Category | Examples | Why Gravure? |
|---|---|---|
| Flexible packaging | Snack bags, shampoo pouches, coffee packs | High speed, wide webs, excellent ink opacity |
| Publication | Magazines (1M+ circulation), mail-order catalogues | Consistent quality over millions of copies |
| Decor | Wallpaper, wood-grain laminate, flooring | Continuous seamless patterns |
| Labels | Shrink sleeves, wrap-around labels | Fine detail, metallic inks, high durability |
| Security printing | Banknotes, stamps, security documents | Intaglio gravure creates raised textures impossible to photocopy |
| Tobacco & liquor | Cigarette inner frames, premium spirit cartons | High-end finish, metallic effects |
| Gift wrap & tissue | Decorative papers | Continuous patterns in wide webs |
Rotogravure Cylinder vs the Alternatives at a Glance
| Feature | Rotogravure Cylinder | Flexo Plate | Offset Plate | Digital |
|---|---|---|---|---|
| Image carrier | Engraved metal cylinder | Photopolymer plate | Aluminium plate | None (inkjet/toner) |
| Run length sweet spot | 100,000–5,000,000+ | 5,000–200,000 | 10,000–500,000 | 1–5,000 |
| Setup cost (per colour) | ₹25,000–₹80,000 | ₹500–₹3,000 | ₹200–₹1,500 | ₹0 |
| Setup time | 30–60 mins | 5–15 mins | 5–10 mins | 0 mins |
| Print quality ceiling | Excellent | Good–Very Good | Very Good–Excellent | Good |
| Seamless patterns | Yes | No | No | Yes |
| Substrate range | Widest | Wide | Limited | Limited |
| Ink film weight | Highest | Medium | Low | Low–Medium |
Key Terms You'll Hear Around Rotogravure Cylinders
- Doctor Blade — the steel strip that wipes excess ink from the cylinder surface
- Cell — a microscopic ink-holding cavity engraved into the cylinder
- LPI (Lines Per Inch) — engraving resolution; higher LPI means finer detail
- Impression Roller — rubber-covered roller that presses substrate against the cylinder
- TIR (Total Indicated Runout) — a measure of cylinder roundness; must be within microns
- Ballard Skin — a thin copper shell that can be peeled off and replaced without re-plating the entire cylinder
- Rechrome — stripping and re-applying the chrome layer when it wears thin
- Nip — the contact point between the gravure cylinder and the impression roller
The Bottom Line
A rotogravure cylinder is, at its core, a brilliantly simple idea: engrave an image into metal, fill the engraved grooves with ink, wipe the surface clean, and press paper (or film) against it. That basic principle, unchanged since Karel Klič commercialized it in the 1890s, still drives the highest-quality, highest-volume printing operations on earth.
What changed is the precision. Modern cylinders are engraved at resolutions exceeding 400 LPI, with cell depths controlled to within a single micron, on surfaces polished to optical flatness. The result is a printing process that can deliver magazine-quality images on a potato chip bag at 800 metres per minute, millions of times, identically.
If you're in the packaging business, understanding how rotogravure cylinders work isn't academic. It's the difference between specifying the right print process for a new product launch, and discovering too late that you spec'd the wrong one.